After working hard at piano lessons all year, children often lose momentum in their piano lessons in the summer term. This is a good time to bring in musical activities which boost their flagging energies.
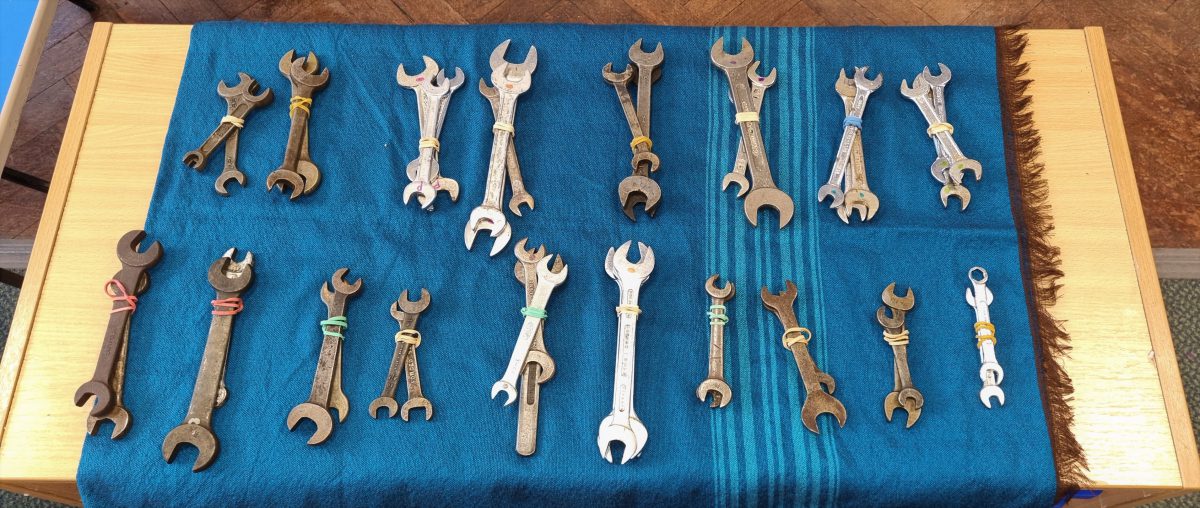
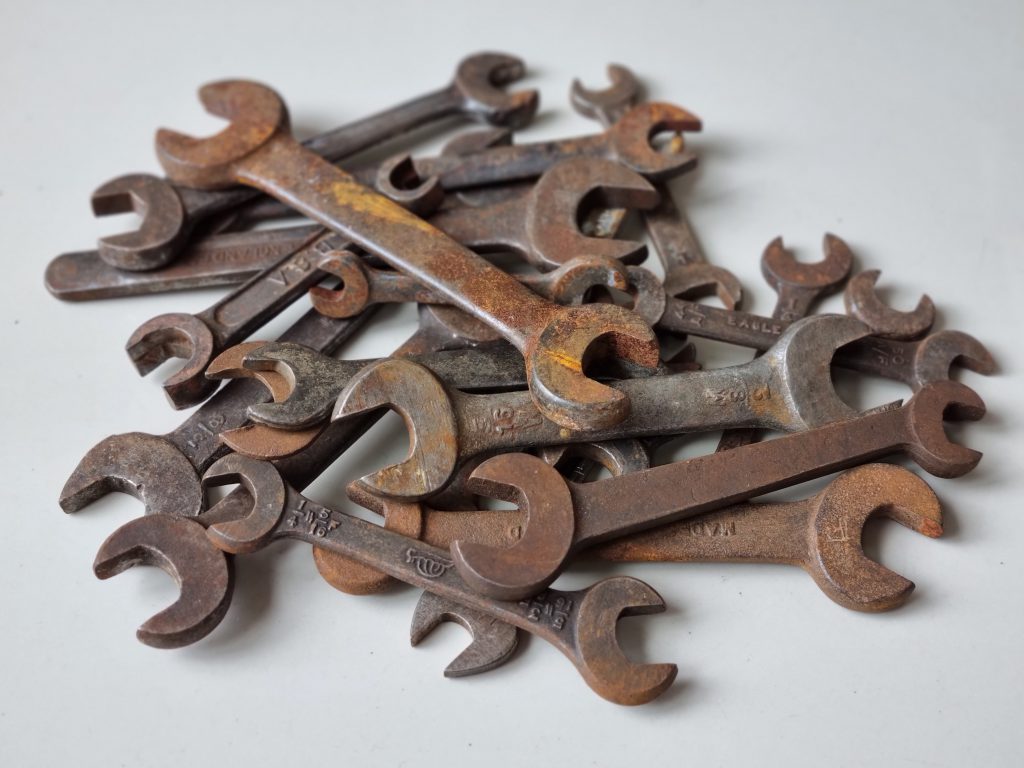
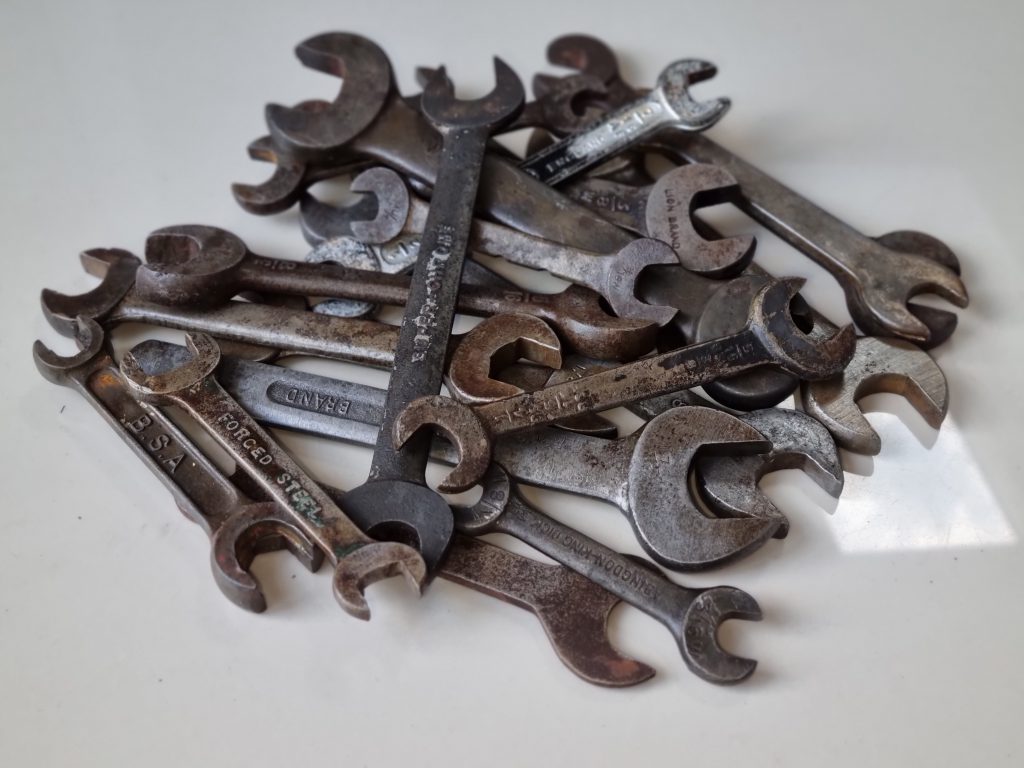
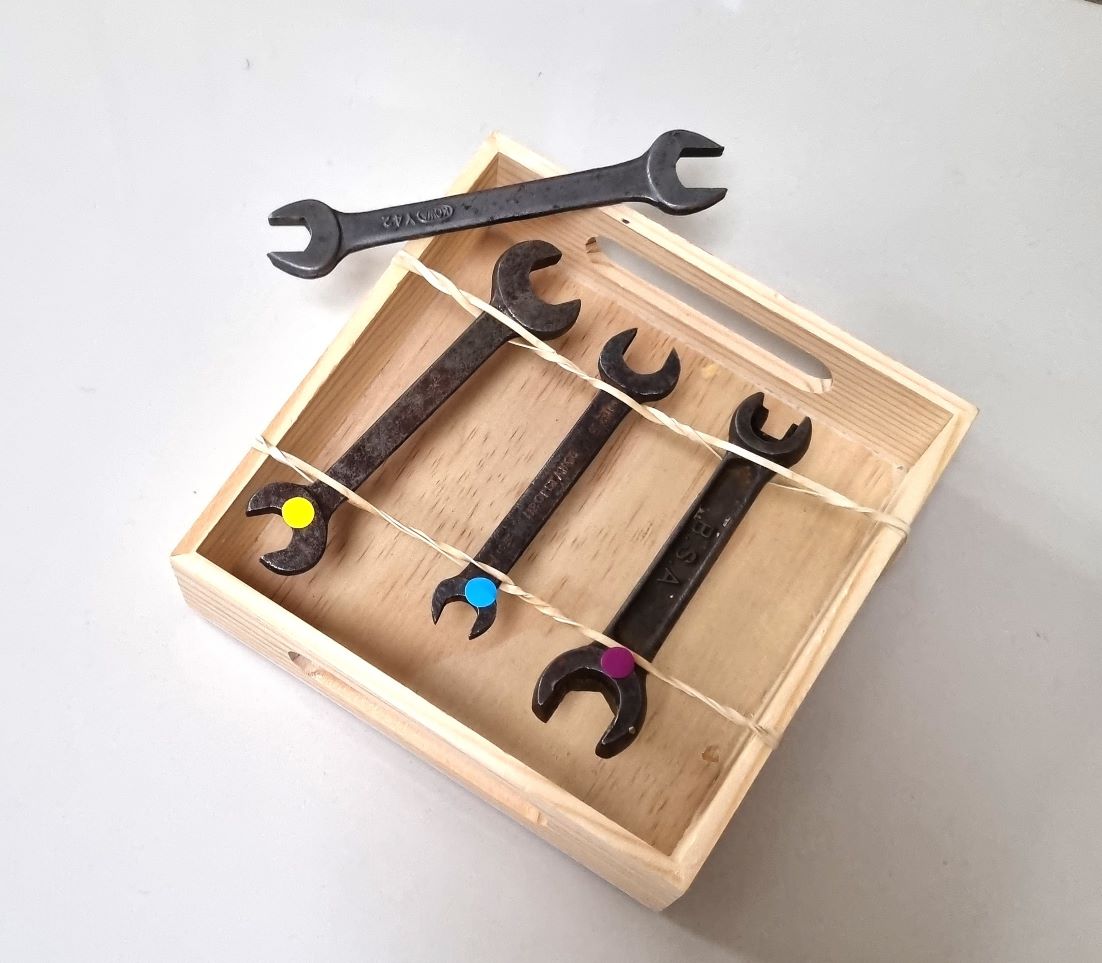
I discovered that one of my spanner glockenspiel sets was perfectly tuned to an F# minor chord and decided to use it in a composition project for my 8 year old student Immie. This activity was spread out over 4 weeks and we spent 5-10 mins at the start of each piano lesson on it. It brought together musical elements learnt in previous lessons : time signatures, accidentals and the treble clef note ‘A’ on the stave.
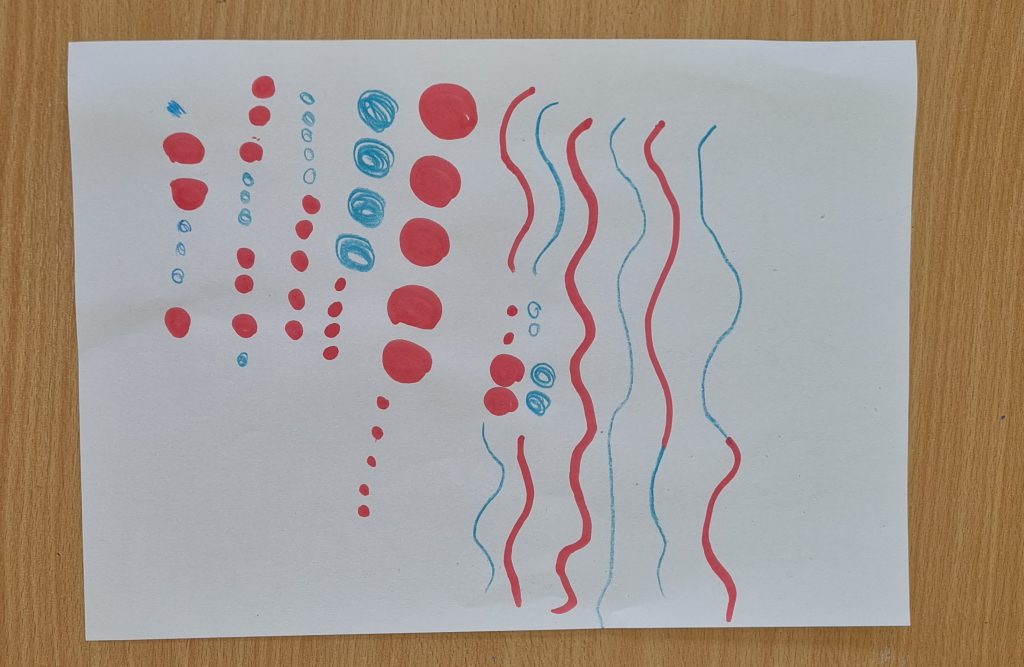
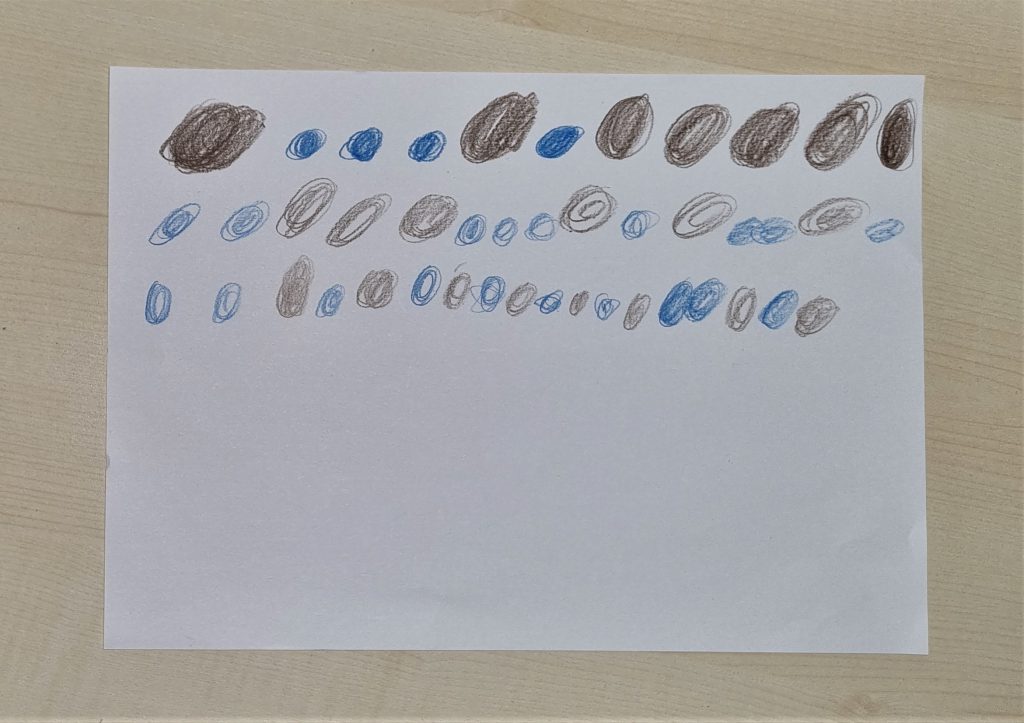
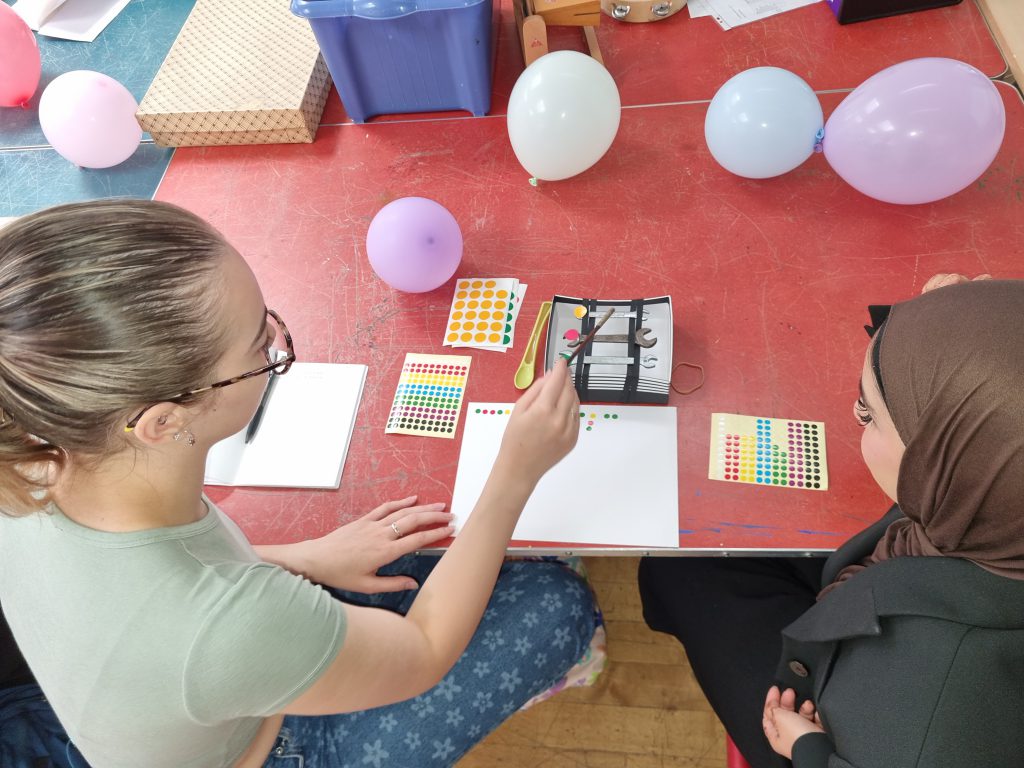
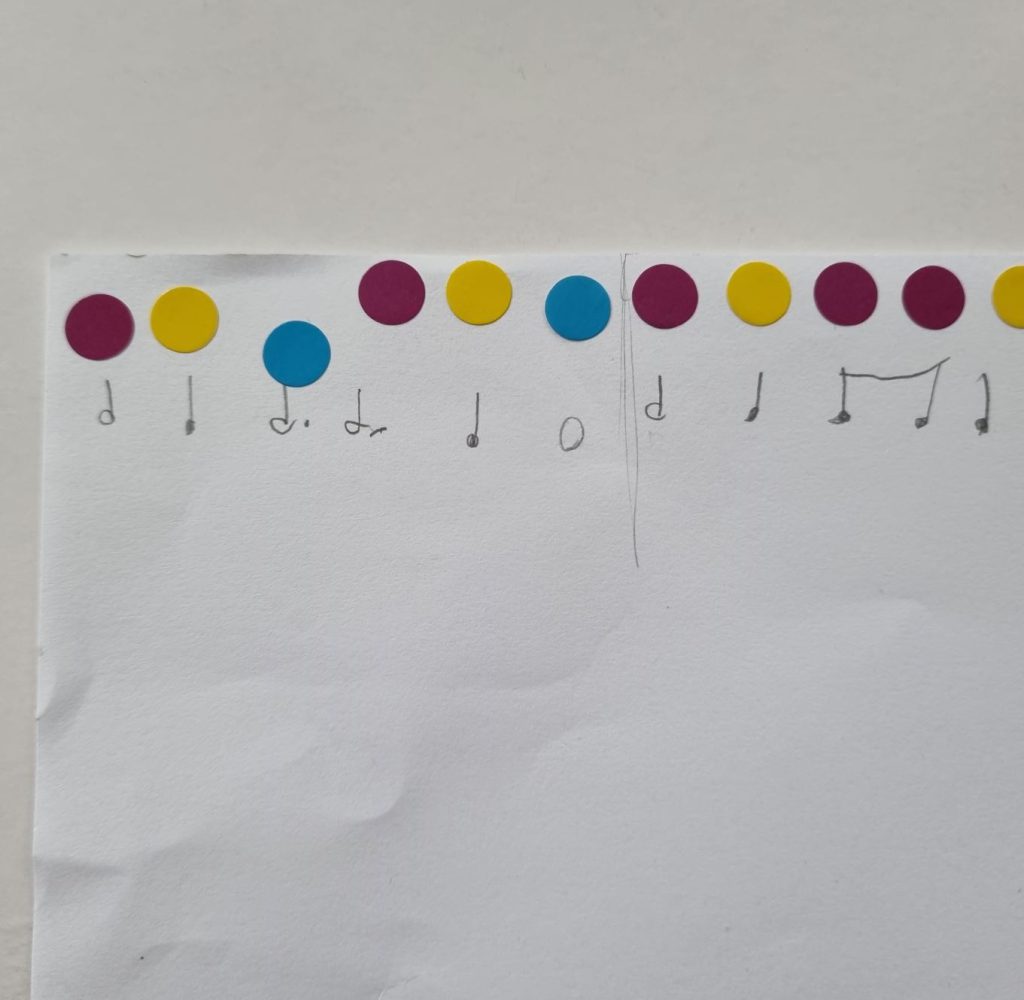
Week 1 – a simple graphic score was created using colour-coded spanners. This helped Immie to quickly notate and play back a pitch pattern.
Week 2 – Immie chose note values for each pitch rhythm and played her pitch pattern back with her new rhythms. I normally use Week 1 and 2 activities to add interest and variety to lessons for beginners so Immie was very familiar with the process up to this stage.
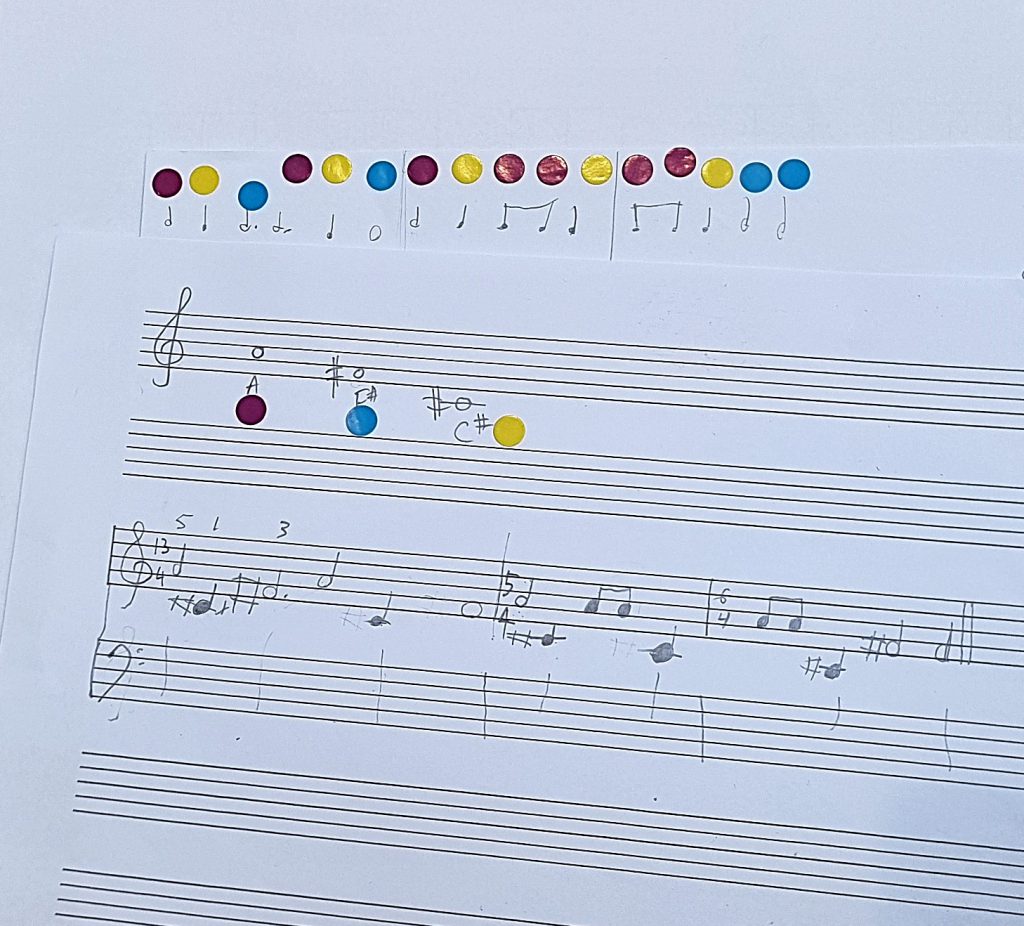
Week 3 – time to transfer the graphic score to conventional stave notation! This was a completely new stage of work for Immie. I showed her how to draw F#, C# and A on the treble stave and how each note corresponded to a colour-coded spanner. She then drew the first few notes of her composition on the stave and played them on the piano. We even discussed possible fingerings which would make it comfortable to play the notes.
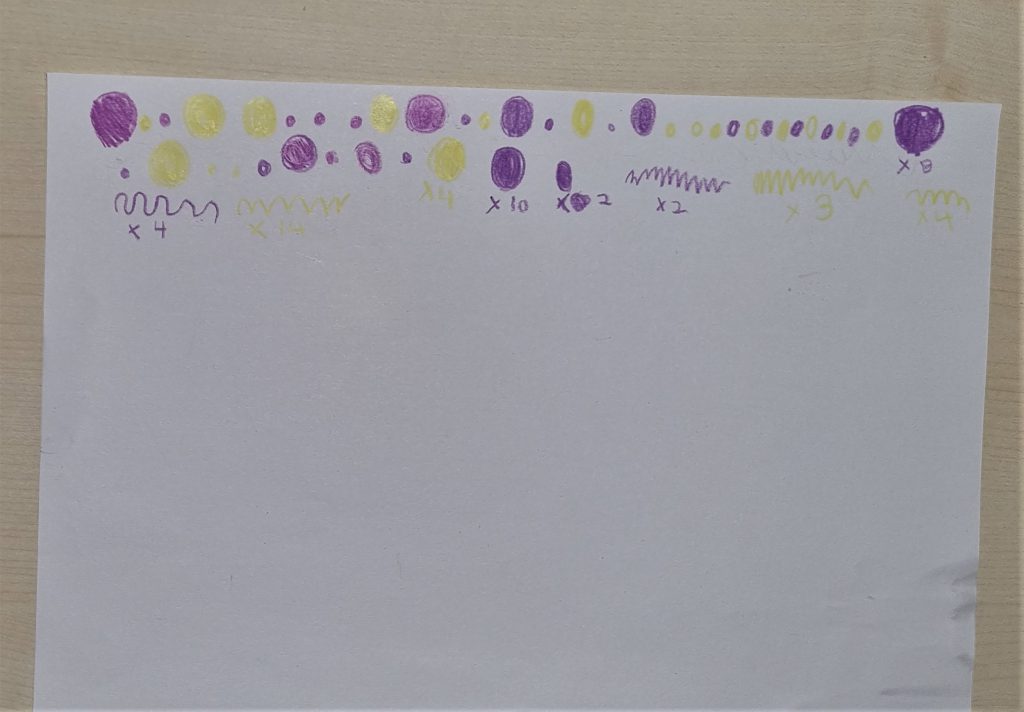
Week 4 – Immie had learnt that time signatures are simply groups of beats put into bars with each bar having the same number of beats. To add some fun creativity to this activity, I suggested that the notes she drew on the stave in the previous week could be made up into one complete bar. She counted 13 crotchet beats in total and wrote down the zany time signature of 13/4. I then asked her how many beats she would like in the next bar. She chose 5, counted off 5 crotchet’s worth of notes and drew them on the stave. There were only 6 crotchets worth of notes left so that became the last bar which was labelled with 6/4.
This was a very satisfying musical activity with SO MUCH added value :
- makes music theory come alive.
- adds more multi-sensory aspects to a lesson.
- empowers learners by giving them ownership of musical material. Nothing beats being able to say “I made this!”
- prolongs engagement and helps learners focus.
For more advanced / older learners, you could add complexity this way:
- pitch-identification. Without revealing the pitch of each spanner, ask students to match the sound of each spanner to a note on the piano and notate it on the musical stave.
- create and write down intervals / chords by playing two or more spanners simultaneously.
- compose an ensemble piece based on the notes of the spanner glockenspiel. e.g. spanner glockenspiel + flute (or guitar / drums / voice…. or even typewriter à la Leroy Anderson!).