Creative music-making: composing with a spanner glockenspiel

After working hard at piano lessons all year, children often lose momentum in their piano lessons in the summer term. This is a good time to bring in musical activities which boost their flagging energies.

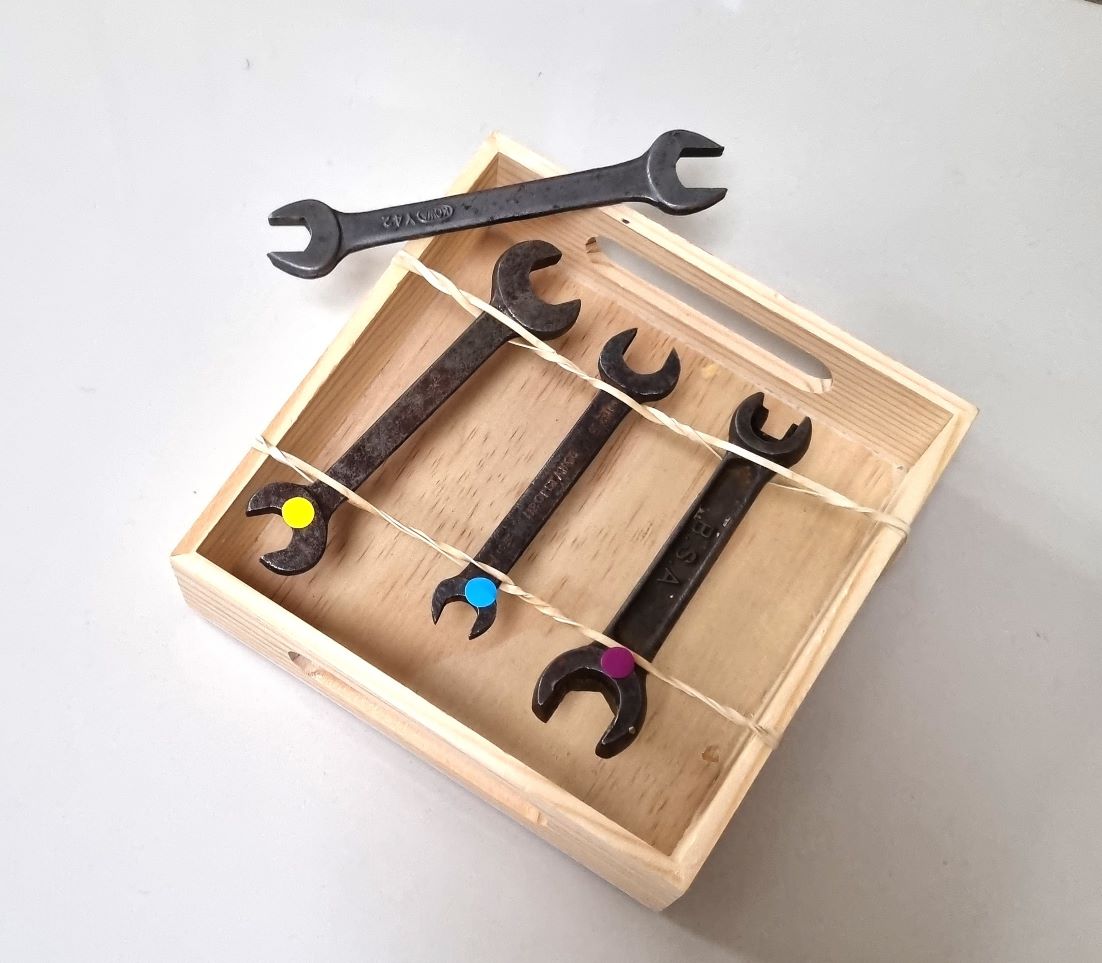
I discovered that one of my spanner glockenspiel sets was perfectly tuned to an F# minor chord and decided to use it in a composition project for my 8 year old student Immie. This activity was spread out over 4 weeks and we spent 5-10 mins at the start of each piano lesson on it. It brought together musical elements learnt in previous lessons : time signatures, accidentals and the treble clef note ‘A’ on the stave.

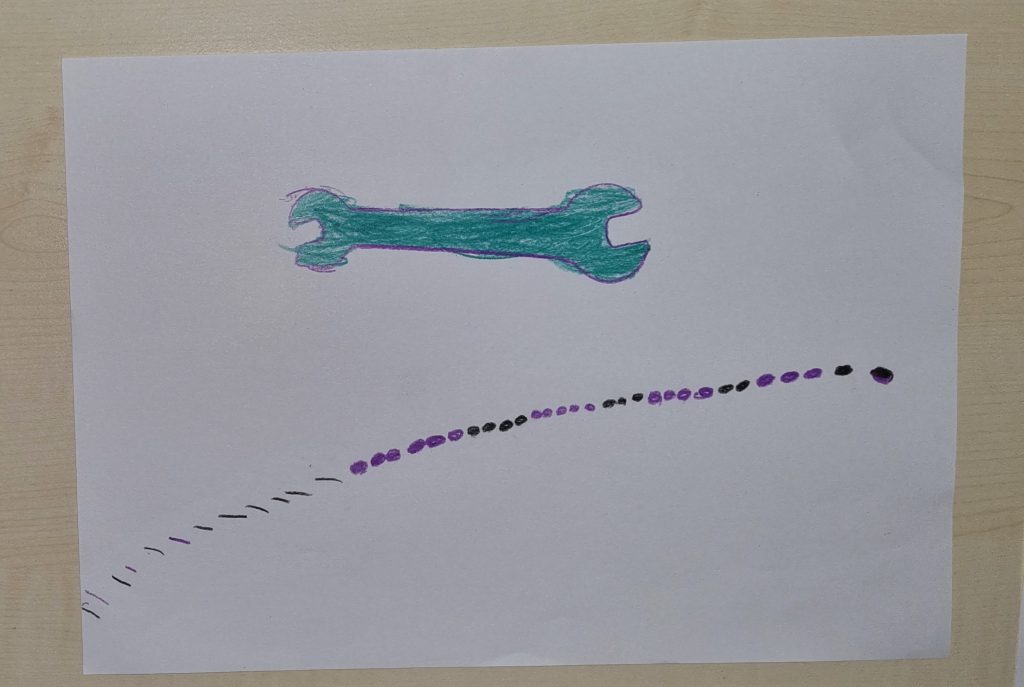
Week 1 –   a simple graphic score was created using colour-coded spanners. This helped Immie to quickly notate and play back a pitch pattern.

Week 2 – Immie chose note values for each pitch rhythm and played her pitch pattern back with her new rhythms. I normally use Week 1 and 2 activities to add interest and variety to lessons for beginners so Immie was very familiar with the process up to this stage.
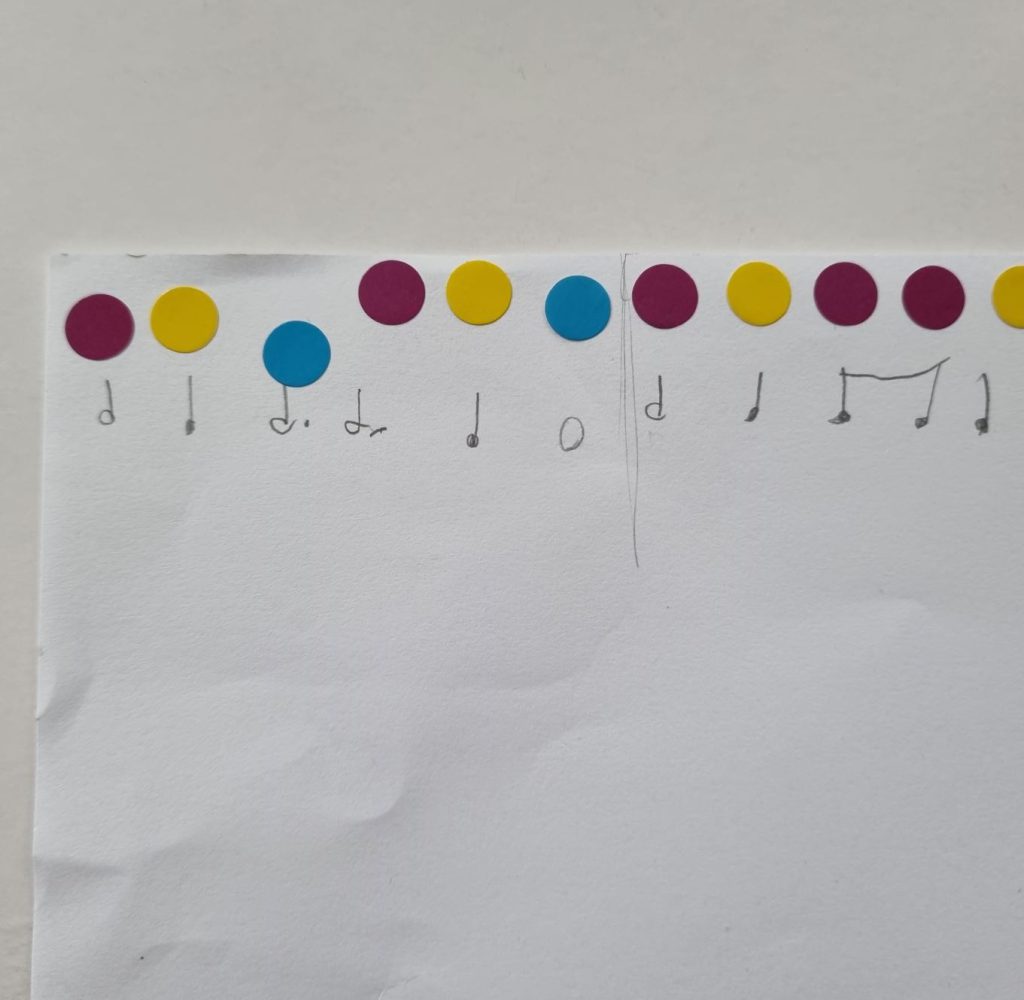
Weeks 1 and 2 – dot stickers are really useful for making quick graphic scores.

Week 3 – time to transfer the graphic score to conventional stave notation! This was a completely new stage of work for Immie. I showed her how to draw F#, C# and A on the treble stave and how each note corresponded to a colour-coded spanner. She then drew the first few notes of her composition on the stave and played them on the piano. We even discussed possible fingerings which would make it comfortable to play the notes.

Week 4 – Immie had learnt that time signatures are simply groups of beats put into bars with each bar having the same number of beats. To add some fun creativity to this activity, I suggested that the notes she drew on the stave in the previous week could be made up into one complete bar. She counted 13 crotchet beats in total and wrote down the zany time signature of 13/4.  I then asked her how many beats she would like in the next bar. She chose 5, counted off 5 crotchet’s worth of notes and drew them on the stave. There were only 6 crotchets worth of notes left so that became the last bar which was labelled with 6/4.
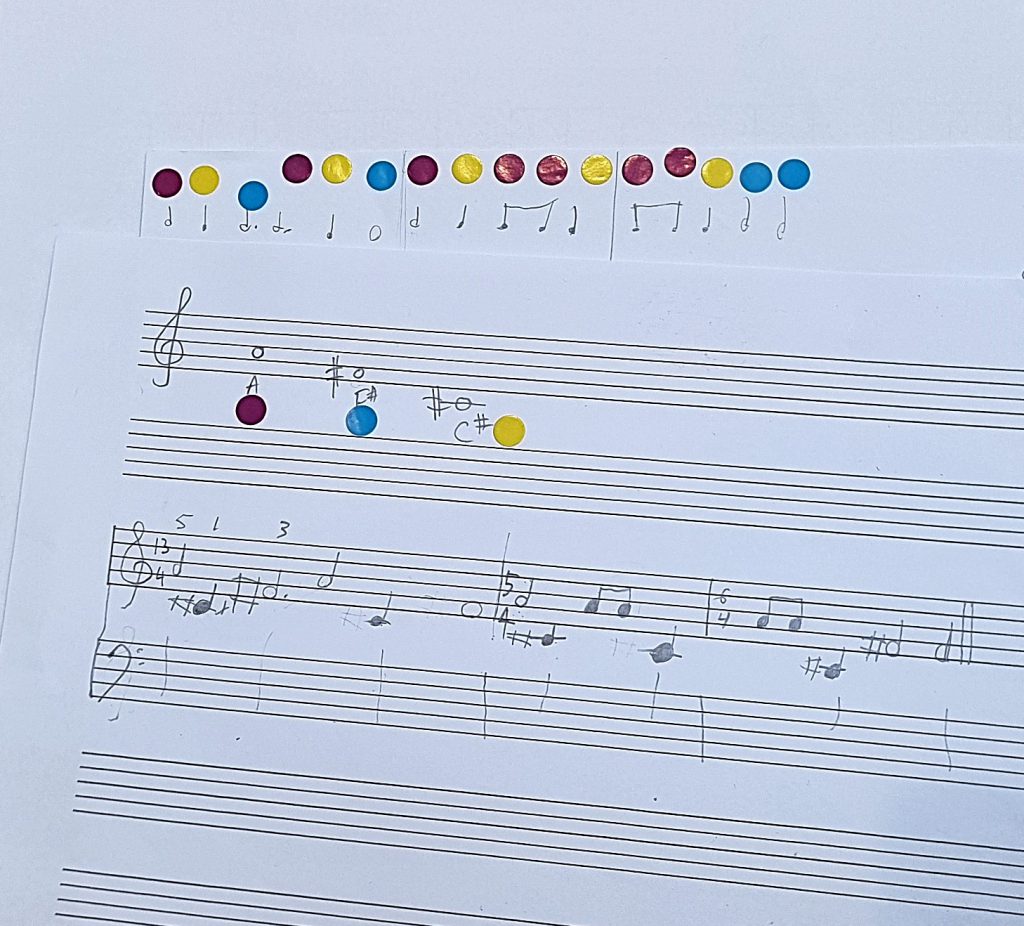
Weeks 3 and 4 – transferring simple graphic notation to conventional stave notation. This was good practice for drawing the symbol for sharps and writing down time signatures.

This was a very satisfying musical activity with SO MUCH added value :

  • makes music theory come alive.
  • adds more multi-sensory aspects to a lesson.
  • empowers learners by giving them ownership of musical material. Nothing beats being able to say “I made this!”
  • prolongs engagement and helps learners focus.

For more advanced / older learners, you could add complexity this way:

  • pitch-identification. Without revealing the pitch of each spanner, ask students to match the sound of each spanner to a note on the piano and notate it on the musical stave.
  • create and write down intervals / chords by playing two or more spanners simultaneously.
  • compose an ensemble piece based on the notes of the spanner glockenspiel. e.g. spanner glockenspiel + flute (or guitar / drums / voice…. or even typewriter à la Leroy Anderson!).
Compose like a boss and use the typewriter like Leroy Anderson

Spanner Glockenspiel Workshops

Making your own musical instrument is a fun way to explore sound. Recently, I introduced students at the Folville Summer Music Camp to Spanner Glockenspiels. The Spark Arts organised these lovely music sessions and were brilliantly supported by the staff of Folville Junior School in Leicester.

The same workshop was delivered to two groups:

  • 22 students in Years 2 and 3
  • 18 students in Years 4 – 6

We got into our musical groove with a drumming session on Folville’s marvellous collection of djembes. As an introduction to graphic scores, students were asked to compare loud/quiet sounds and to choose shapes which represented them. Students was invited to create a pattern of loud/quiet sounds using foam circles and we all played their compositions.  I was particularly impressed with the excellent musical discipline and ensemble work shown by the older students.

Next, we discussed how sounds could be made using a spanner (tapping , knocking, scraping on various surfaces). I demonstrated the sound made by a suspended spanner when it was tapped firmly with another spanner. The clear chiming sound and extra resonance it produced caught the attention of the students. We then compared the sounds of two different spanners, concluding that one was higher than the other and used coloured stickers to identify the spanners which made high/low sounds.

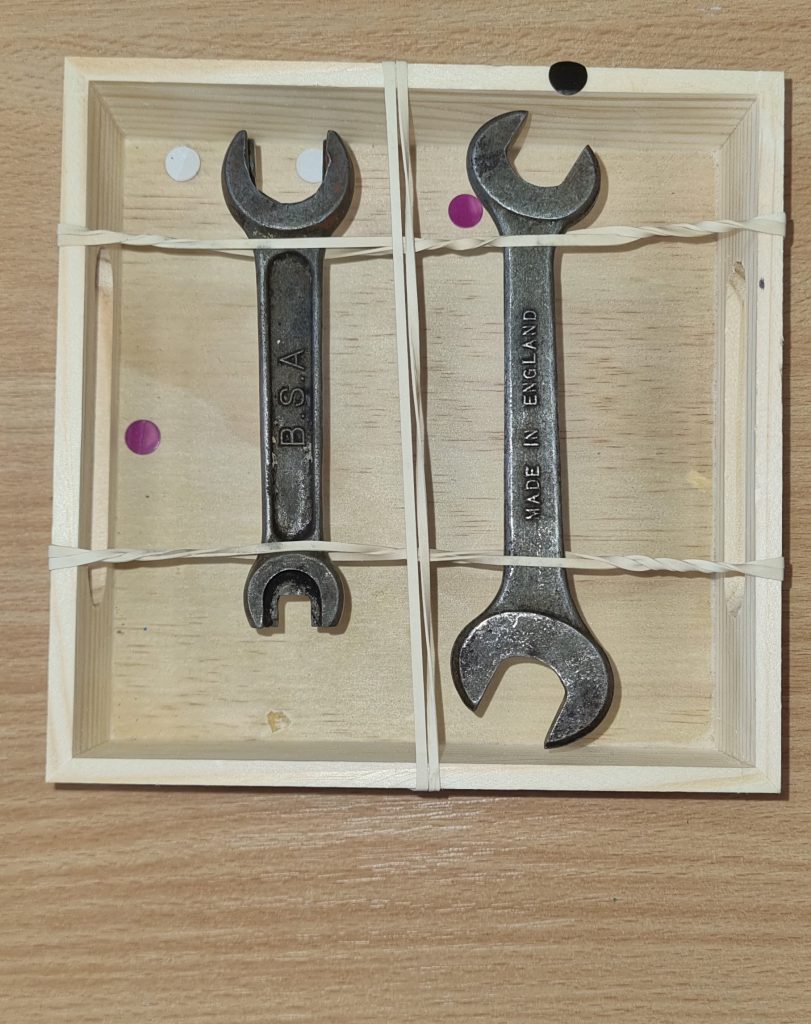
After a quick tutorial on how to assemble the spanner glockenspiel, each student assembled their own instrument. Most students found that their constructs were rather wobbly. Some came up with clever ideas to stabilise their instruments by stretching a third pair of rubber band at right angles to the other two pairs.

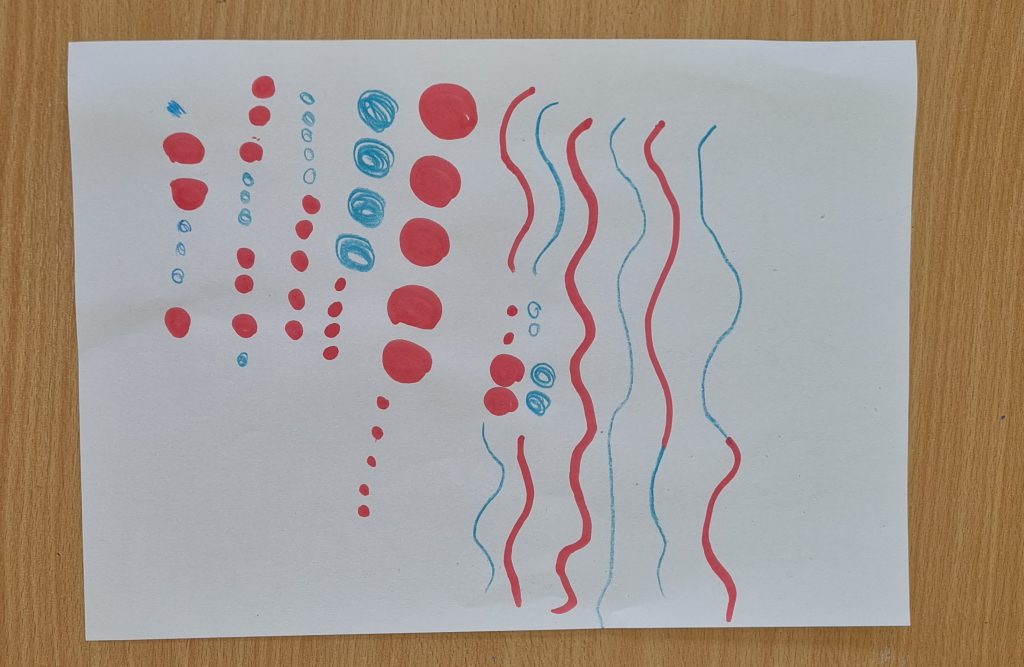
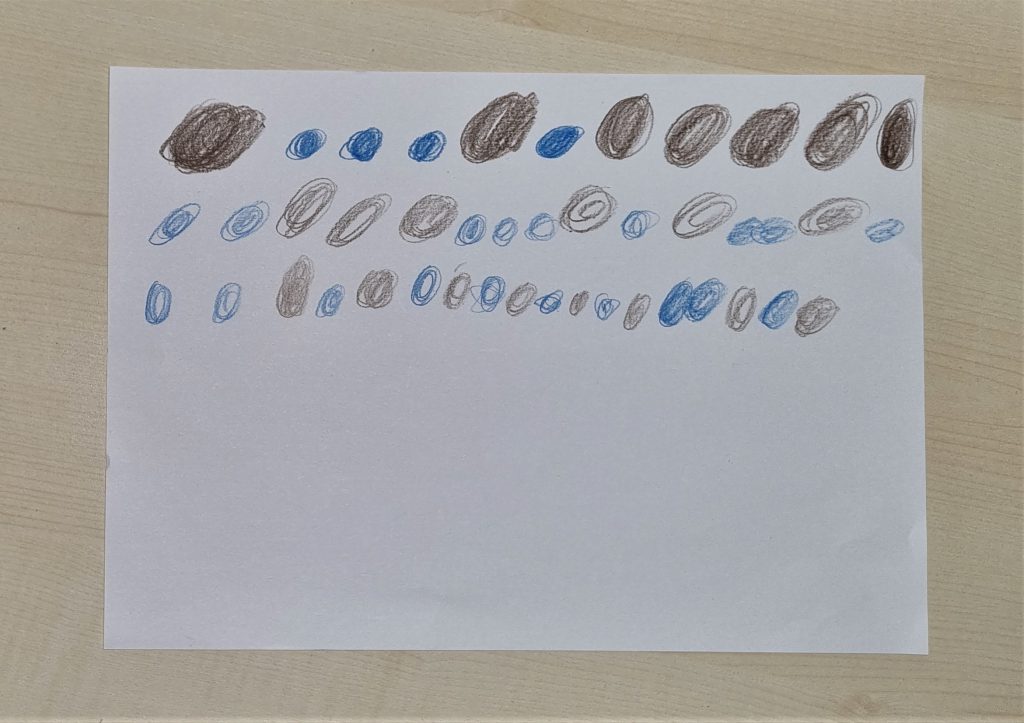
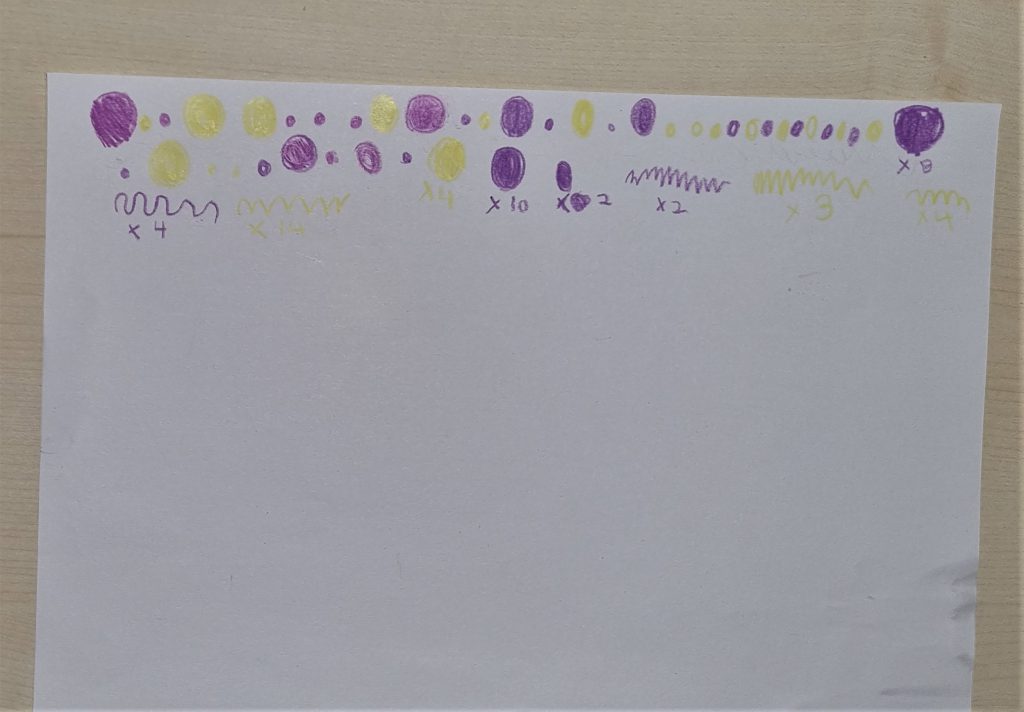
The students recorded their ideas using a simple pitch graphic score with coloured stickers to differentiate the pitch of their spanners. The older students added different musical elements to their graphic scores:

This graphic score included timbres. Squiggly lines = scraping sounds, coloured circles= tapping sounds. 
Another student chose to add rhythms: brown circles  for high pitched spanner and long sounds, blue circles for low pitched spanner and short sounds.
Pitch and Dynamics : loud= big circle, quiet = small circle

One student traced and coloured in the shape of his spanners to decorate his graphic score

The workshop ended with some musical colouring and a few rounds of musical bingo.

If you would like to have a go at making your own spanner glockenspiel, you will need :

  • some spanners
  • a sturdy box (square or rectangular biscuit tins, or wooden boxes / trays. Sturdy cardboard boxes will also be fine as long as they can hold their shape. Plastic takeaway boxes are another good option)
  • 4 big rubber bands
  • a variety of beaters.Any metal/wood/ felt/rubber/silicone-tipped kitchen implements tend to be perfect for sound exploration. I use chopsticks, table knives, silicone spatulas, and pencils.

I prefer to use recycled / found materials to make  these instruments. It encourages sound explorers to adopt a more informal can-do approach to music making, and helps them think of creative uses for things in their everyday environment.

To make the spanner glockenspiel:

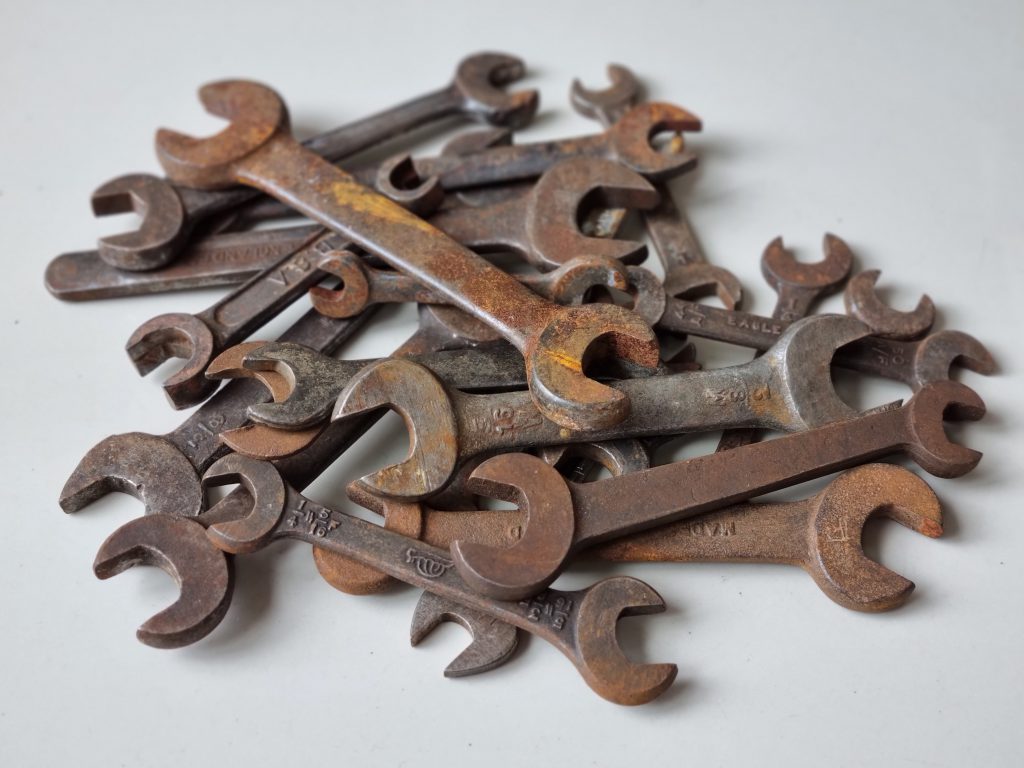
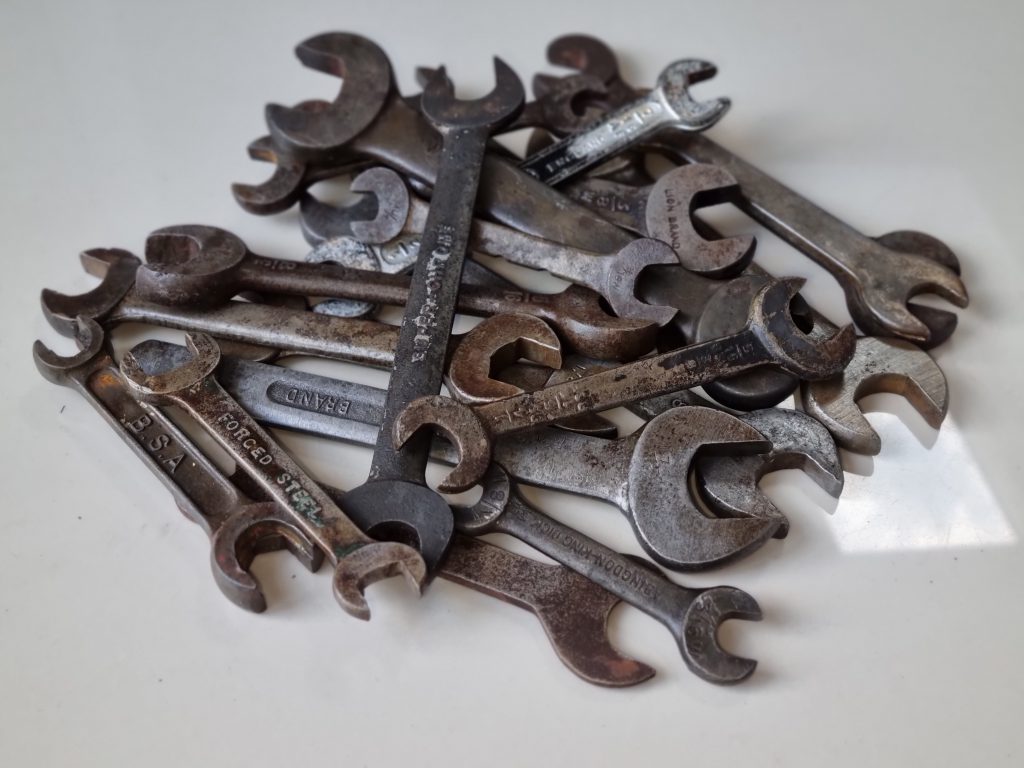
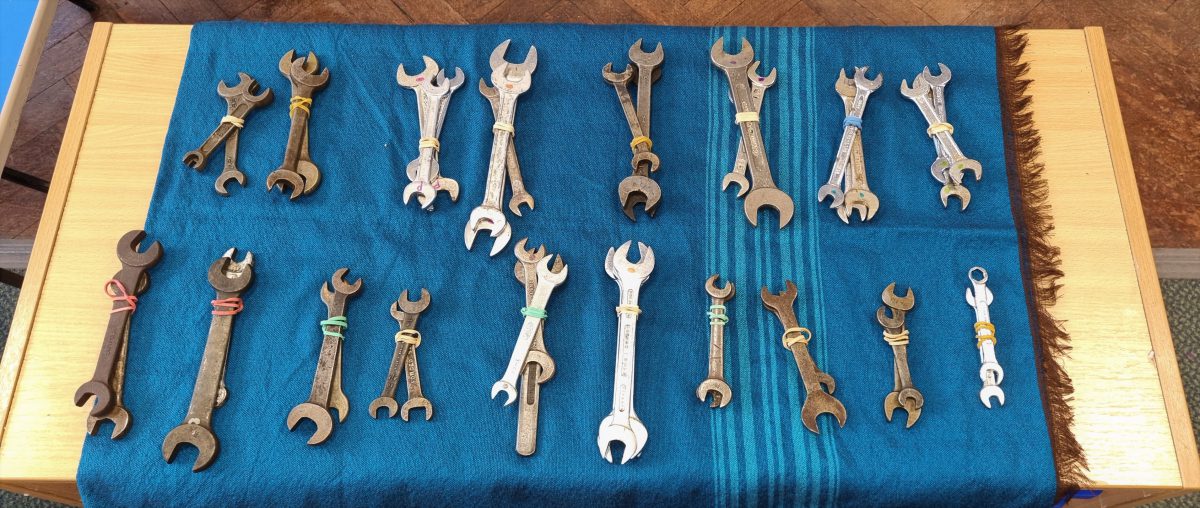
Step 1. Collect lots of old interesting spanners. The old fashioned heavy ones are the best as they create the nicest sounds. The Reusers in Sutton Coldfield is one of  my go-to place to stock up on spanners  for Rhythm Circle workshops. It took me 2 visits over 2 years to acquire 40-45 spanners of just the right kind.

Step 2. If you need to clean your spanners, soak them in some mild acid and dish-drops to shift the rust and grime (you don’t need industrial strength acid bath for the job. In a pinch, Coca Cola or vinegar will do). Soak the spanners in the acidic solution for a couple of hours, then scrub them to remove more rust and grime. Best tools seem to be a steel mesh scrubber and toothbrush to clean the little grooves and hard-to-reach places. 

Step 3. Dry the spanners and rub lightly with oil to prevent further rusting. Skin-friendly oils are preferable as the spanners will be handled by little hands. I used Johnsons’ baby oil, but plain cooking oil will also work.

Step 4. Now for the fun bit! Stretch 2 rubber bands around your box and keep them bunched up together. Tuck one end of a spanner in between the rubber bands. Repeat with the other two rubber bands and tuck the other end of the spanner in. Before putting a second spanner into your rubber band cradle, twist each rubber band around the other one in its pair. This will tighten the rubber bands around the first spanner to stop it from wobbling in its cradle.

Step5. Tap spanners with a beater. Metal-tipped beaters give a clearer bell-like sound and wooden/soft-tipped beaters make a muted sound.

You can group the spanners in sets which are in tune with itself – they don’t need to be arranged according to concert pitch tuning. For younger students, I normally start with 2 spanners:  one high-pitched and one low- pitched. 

To extend learning, you can add more spanners of different pitches to explore more complex pitch patterns, or introduce different musical elements. Older students can be challenged to arrange a bunch of random spanners by pitch order, or to compose tunes which they can play on their spanner glockenspiels.

Enjoy!